Whether you’re a seasoned rider or just starting your surfing journey with San Diego Surf School, learning how to repair your surfboard is a valuable skill that can keep you riding the waves without missing a beat. From minor dings to more serious cracks, knowing how to perform repairs can extend the life of your board and save you time and money. Let’s dive into the essentials of DIY surfboard repair:
Assess the Damage
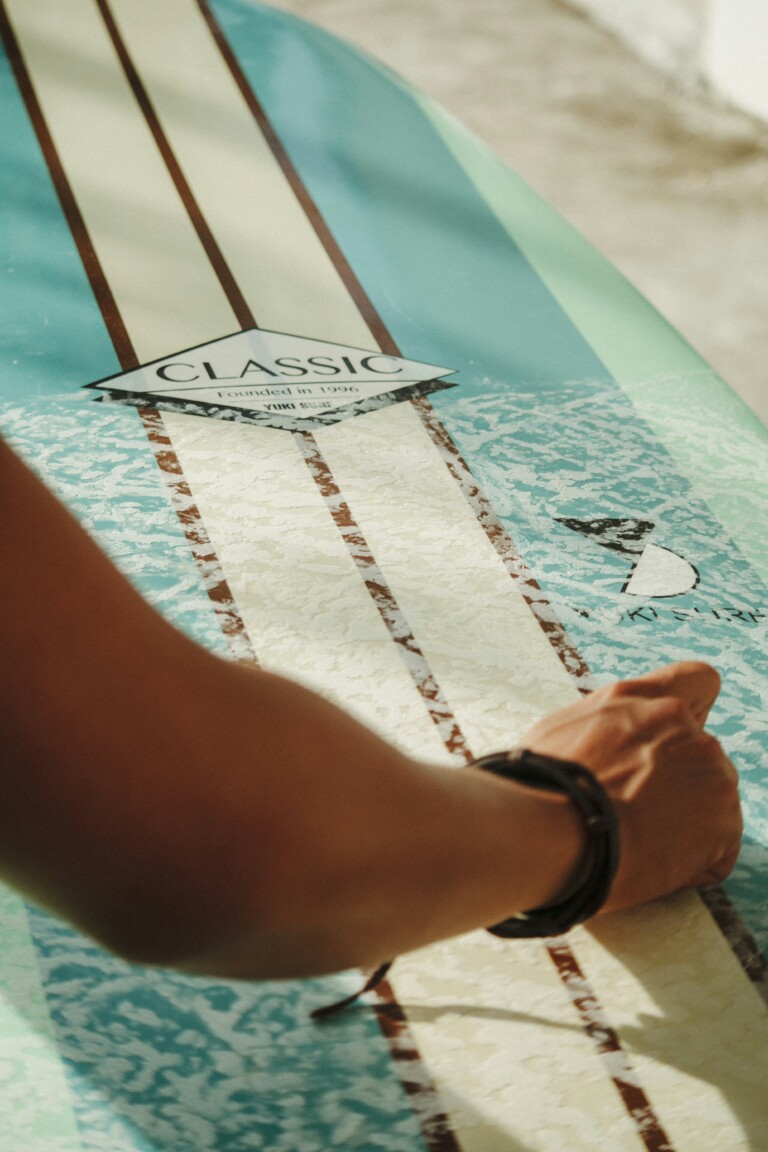
Before diving into repairs, carefully inspect your surfboard to assess the extent of the damage. Look for dings, cracks, or delamination that may compromise the board’s structural integrity. Identifying the problem areas will help you determine the appropriate repair techniques needed.
Gather Your Materials
- Having the right tools and materials on hand is essential for effective surfboard repairs. Here’s what you’ll need:
- Sandpaper or sanding block
- Surfboard resin and catalyst
- Fiberglass cloth or resin patches
- Mixing cups and stirring sticks
- Masking tape
- Fin rope or dental floss (for fin repairs)
- Sunlight or UV lamp (for curing resin)
Prepare the Surface
Use sandpaper or a sanding block to lightly sand the damaged area and remove any rough edges or debris. This will create a clean surface for the repair materials to adhere to and promote better adhesion.
Apply the Resin
Mix the surfboard resin with the catalyst according to the manufacturer’s instructions. Using a disposable brush or spatula, apply a thin layer of resin to the damaged area, ensuring that it covers the entire surface evenly.
Reinforce with Fiberglass
For larger cracks or delamination, cut a piece of fiberglass cloth or resin patch slightly larger than the damaged area. Place the patch over the resin-coated area, ensuring that it overlaps the edges of the repair. Apply another layer of resin over the patch, saturating it completely and smoothing out any air bubbles or wrinkles.
Cure and Finish
Allow the resin to cure according to the manufacturer’s instructions. This may involve exposing the repair to sunlight or using a UV lamp to accelerate the curing process. Once the resin has fully cured, use sandpaper to smooth out any rough edges and blend the repair seamlessly with the rest of the board.
Final Touches
If you’re repairing a fin, use fin rope or dental floss to secure the fin in place while the resin cures. Once cured, remove the rope or floss and sand down any excess resin for a clean finish.
By mastering the art of surfboard repair, you can keep your board in top condition and ensure that it’s always ready to ride the waves here in San Diego. Remember, practice makes perfect, so don’t be afraid to experiment and refine your skills over time. Happy surfing!